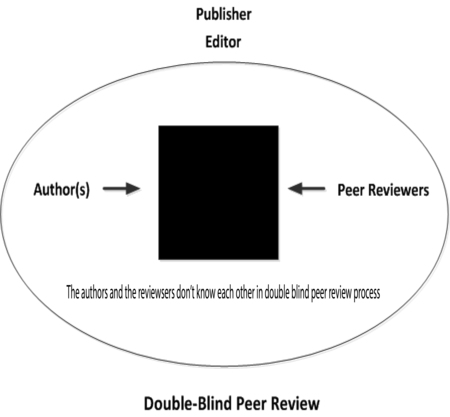
This journal uses double-blind review, which means that both the reviewer and author identities are concealed from the reviewers, and vice versa, throughout the review process.
To facilitate this, authors need to ensure that their manuscripts are prepared in a way that does not give away their identity. To help with this preparation please ensure the following when submitting to IJEER:
- Submit the Title Page containing the Authors details and Blinded Manuscript with no author details as 2 separate files.
Information to help prepare the Title Page
This should include the title, authors' names and affiliations, and a complete address for the corresponding author including telephone and e-mail address.
Information to help prepare the Blinded Manuscript
Besides the obvious need to remove names and affiliations under the title within the manuscript, there are other steps that need to be taken to ensure the manuscript is correctly prepared for double-blind peer review. To assist with this process the key items that need to be observed are as follows:
- Use the third person to refer to work the Authors have previously undertaken, e.g. replace any phrases like “as we have shown before” with “… has been shown before [Anonymous, 2007]” .
- Make sure figures do not contain any affiliation related identifier
- Do not eliminate essential self-references or other references but limit self-references only to papers that are relevant for those reviewing the submitted paper.
- Cite papers published by the Author in the text as follows: ‘[Anonymous, 2007]’.
- For blinding in the reference list: ‘[Anonymous 2007] Details omitted for double-blind reviewing.’
- Remove references to funding sources
- Do not include acknowledgments
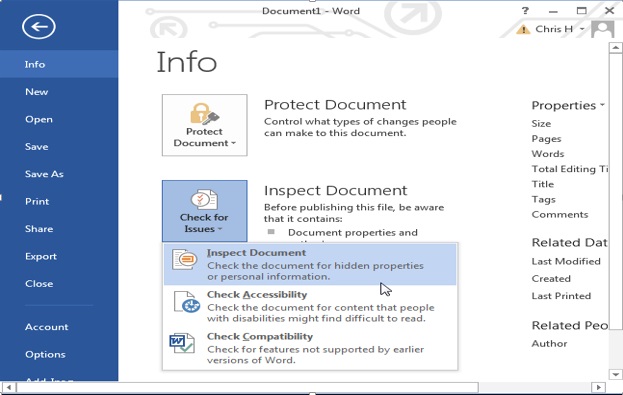
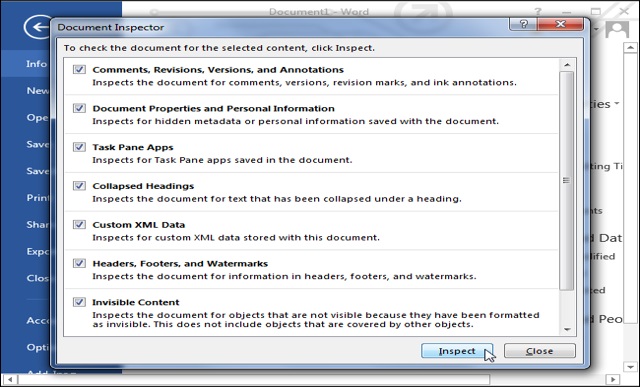
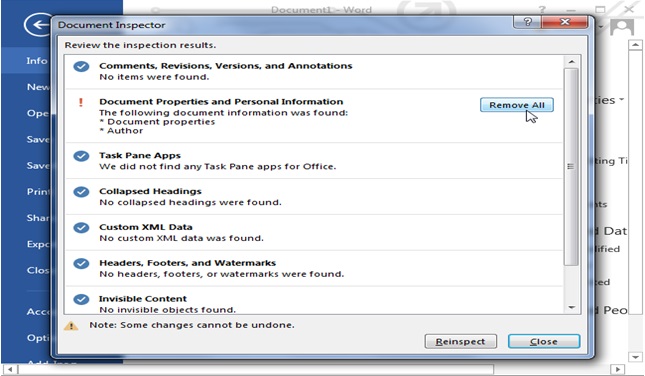
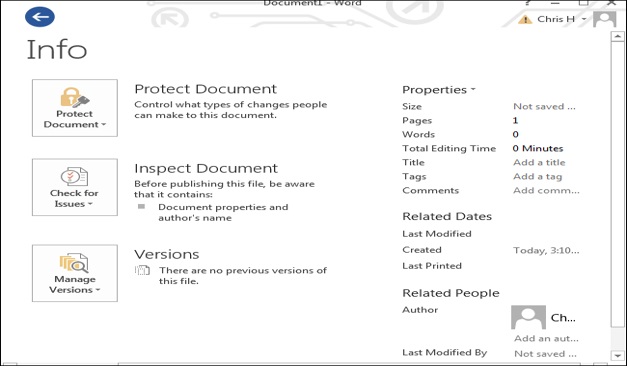
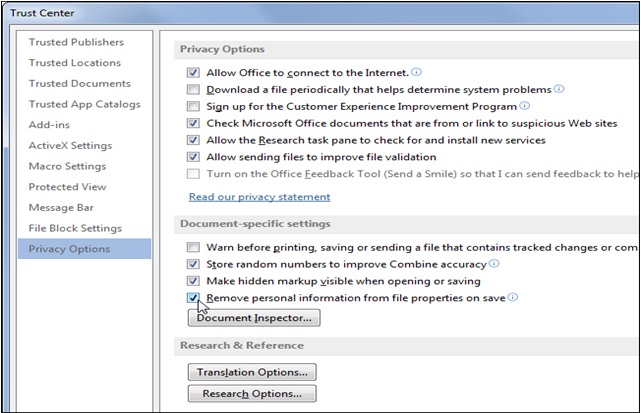
- Remove any identifying information, including author names, from file names and ensure document properties are also anonymized.